Recipients lists
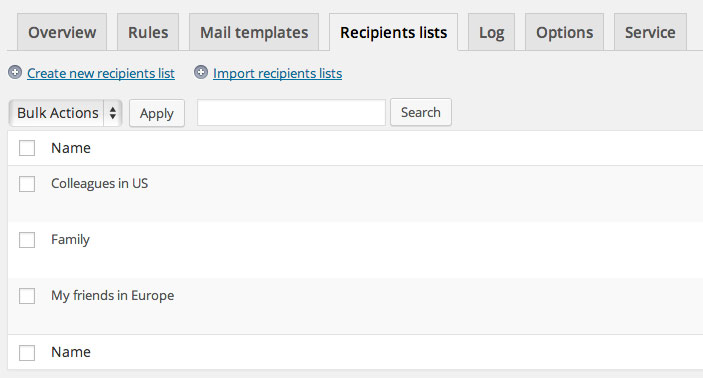
With recipients lists you can manage email addresses to use with notification rules. The benefit of these lists is, that you can reuse them and that you don’t have to create WordPress user accounts to use them as recipients. Just use the plain addresses.

Create a new recipients list
Click the link “Create new recipients list” on the recipients lists index page and the page for editing recipients lists will open.

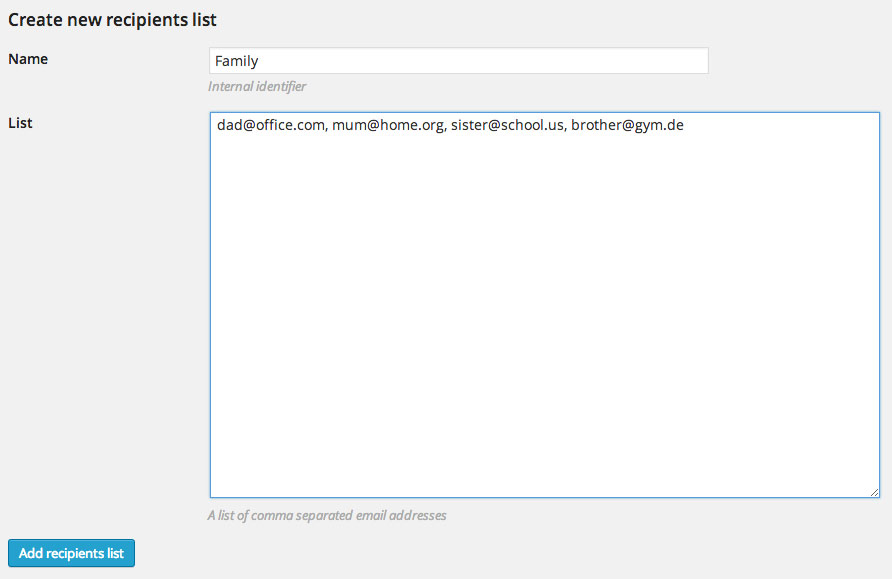
Choose a name for your new recipients list and insert it in the text field “Name”. This will work as an internal identifier for selecting this recipients list in the rules form. Next enter the email addresses as a comma separated list in the text box “List”. Then click the button “Add recipients list” to save the list. It will appear in the list on the recipients lists index page.
Managing your recipients lists

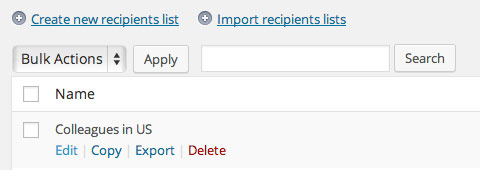
In the recipients lists overview page you can hover a mail an entry to see the links for managing a list. “Edit” will bring you back to the editor page where you can change the email addresses. If you want to create a new recipients list based on another, you can Copy the original one and then edit the duplicate. For exchange or backup, “Export” is the perfect choice. Either click the “Export” link in a row to export only the hovered recipients list or use the checkboxes to select multiple entries and then select “Export” from the “Bulk Actions”.
Using your mail templates
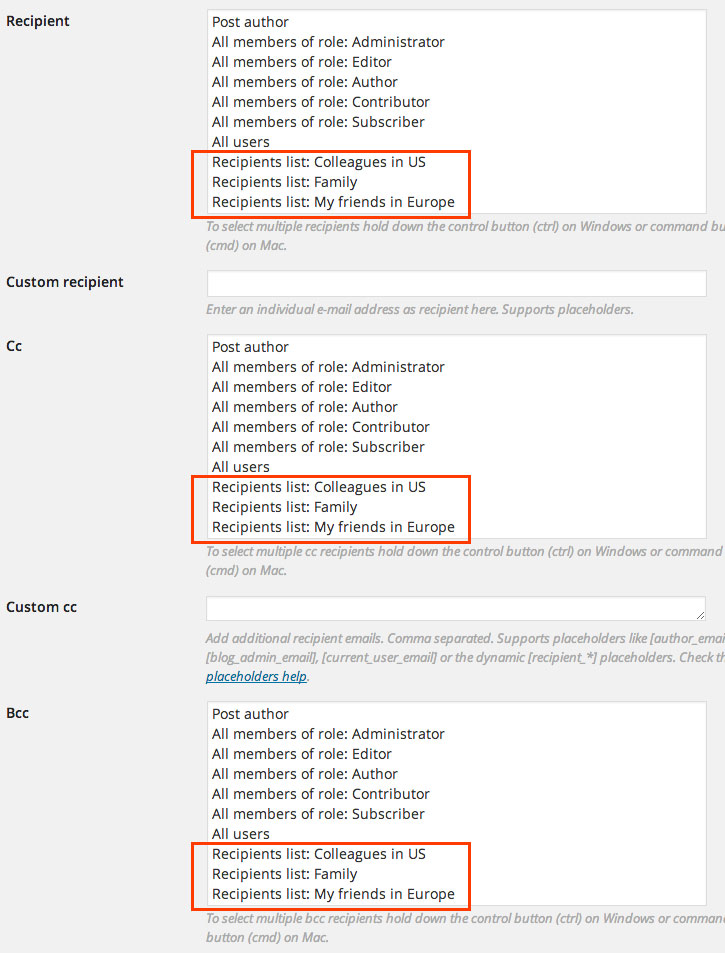
After you have created a recipients list, it will show up in the notification rule form in the selection for “Recipient”, “Cc” and “Bcc”. If you select one or more recipients lists, the containing email addresses will be used as recipients.
