Options

In the options section you can adjust the behaviour of Post Status Notifier.
General options

Deactivate rule on copy
With this option you can decide whether a duplicated rule should be deactivated automatically. This is recommended to prevent that the new rule will trigger notifications before you have changed the copy.
Late execution
If you are facing problems with empty custom field placeholders or custom field placeholders that get not replaced at all, activate this option. PSN will then try to execute notification rules on a very late point in WordPress execution workflow to wait until every other plugin has updated its custom fields.
This option is especially useful if you are using third party plugins for managing custom fields, such as Advanced Custom Fields
TO loop timeout
When using the “One email per TO recipient” feature (see One email per TO recipient) you may want to adjust the PHP maximum execution time for the sending job. Here you can enter a maximum execution time in seconds. It will only be used inside this special feature and will not affect the global configuration.
Ignore post status “inherit”
This option lets you decide if the post status “inherit” should be ignored by the plugin. This status is used by WordPress internally when revisions of posts get created automatically.
Hide non-public post types
If you do not want or need non-public post types in the rule form selection, you can activate this option. Then you will see the public post types in the rule form only.
Email
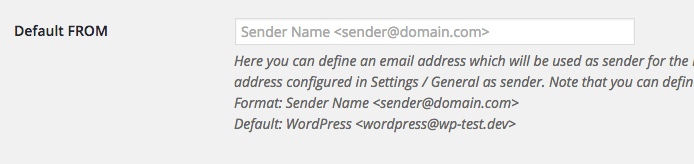
Default FROM
Here you can set a default FROM email address. This will get used as sender for all notification emails processed by PSN if a notification rule does not have a custom sender defined.
Leave it blank to use the blog email address as sender (configured under Settings / General).
Mail Queue
The Mail Queue is PSN’s feature for deferred email sending.
Note
It is highly recommended to use the Mail Queue to handle large amounts of emails.
For more details, check chapter Mail Queue (deferred sending).
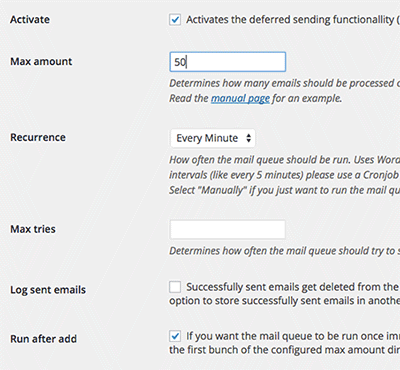
Activate
Activates the Mail Queue feature.
Max amount
Here you may configure how many emails should be processed on each mail queue run.
Max tries
Here you may configure how often the mail queue should try to send an email in case of an error.
Recurrence
Setup the recurrence of a mail queue run. You can select one of WordPres’s internal interval or “Manually”. If you select “Manually” you can run the mail queue by hitting the button “Run mail queue now!” in the Mail queue section. To create custom intervals (like every 5 minutes) please use a Cronjob plugin like WP Crontrol.
Log sent emails
Activates the mail queue log. if activated, emails sent successfully by the mail queue get stored in the log. Otherwise they will just be deleted from the queue.
Run after add
If activated, the mail queue will be run once immediately after emails got added. This will send the first bunch of the configured max amount directly without having to wait for the next scheduled cron run.
Conditions
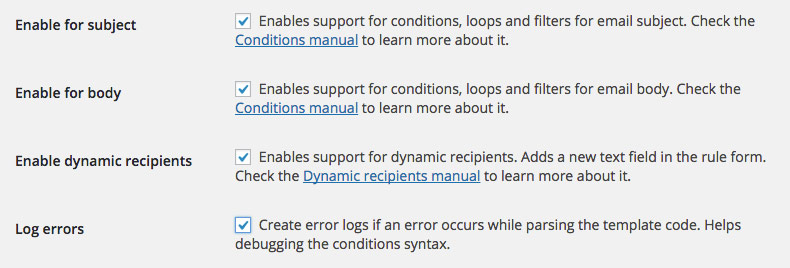
Enable for subject
If you want to use conditions, loops and filters in your subject texts, activate this option. Check the chapter Conditional templates to learn more.
Enable for body
If you want to use conditions, loops and filters in your body texts, activate this option. Check the chapter Conditional templates to learn more.
Enable dynamic recipients
This option activates the Dynamic recipients feature.
Log errors
Activate this option to receive errors regarding the conditional template syntax in your subject and body.
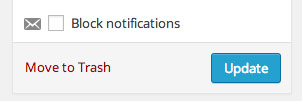
Block notifications feature
Disable it completely
This option will completely disable the “Block notifications” option in the Post submit box.
For admins only
This option will enable the “Block notifications” option in the Post submit box for admins only.
Selected by default
Use with caution! This will check the block feature by default meaning that no notifications will be sent unless you deselect the checkbox before saving or updating a post.
Limitations
The limitations feature allows you set a limit on how often a notification rule should trigger. For more details check chapter Limitations.
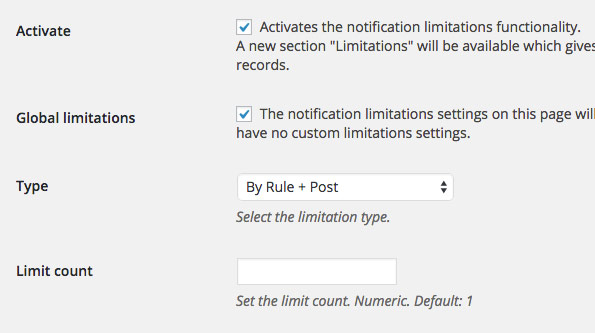
Activate
Activates the limitations feature.
Global limitations
If you want to use the limitations feature globally on every rule, check “Global limitations”.
Type
There are two options available for limitations type:
- By Rule + Post
This setting will store a count for a rule and post combination. If the limit is set to 1, the rule will never be triggered again on that post no matter what status the post has.
- By Rule + Post + Status After
This setting will additionally store the post status after. That means, if the limit is set to 1 and the rule matches multiple statuses after, it will match once for every status after.
Limit count
How often a post rule combination may trigger. If you leave it blank, the default is “1”.
Logger
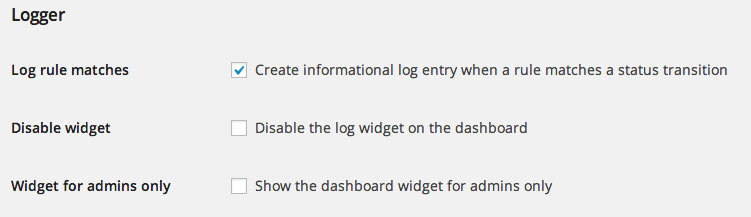
Log rule matches
If this option is set, rule matches will be logged generally. Every time one of your rules gets executed, a log entry will be written.
Note
This option is highly recommended for debugging your rules (see Debug rule).
Array details
Show array contents in log entries instead of just “Array”. Use only when you need it as this can litter up your log table e.g. in case of placeholder [recipient_all_users].
Disable widget
This option disables the dashboard widget.
Widget for admins only
This options activates the dashboard widget for blog admin only.
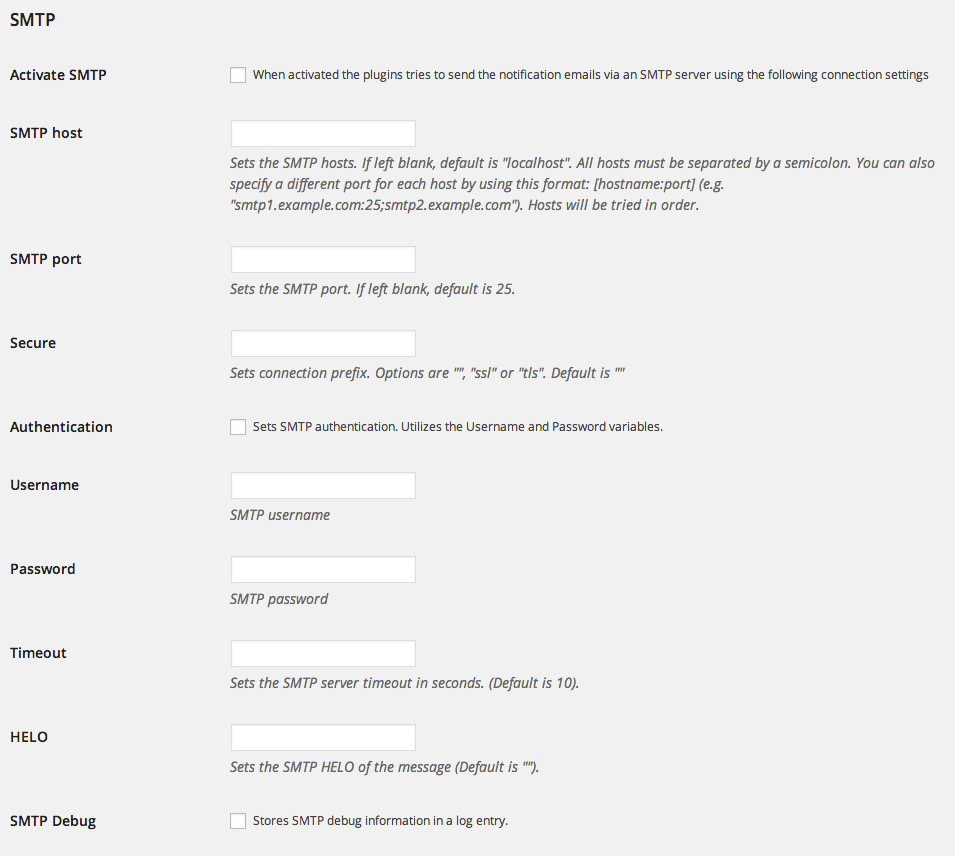
SMTP
The SMTP options allow you to send the notification e-mails via a SMTP mail server. Especially when you need to send very much e-mails, this is recommended. Just enter your SMTP connection data and check “Acticate SMTP”.
Placeholders
Placeholders filters
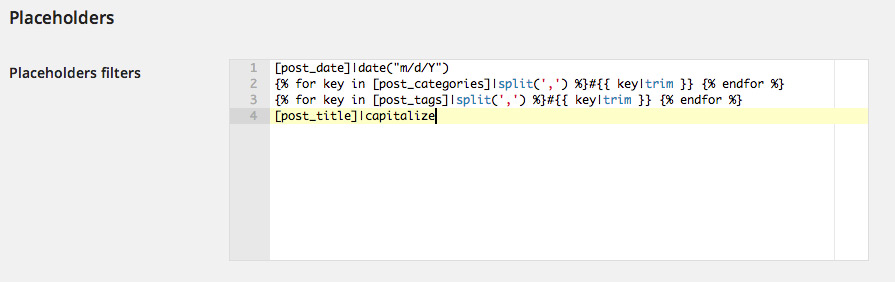
Placeholders filters is a very powerful feature. With it you can manipulate the contents of all the placeholders (see Placeholders) PSN provides. It uses the filters of the popular PHP template engine Twig. Here you can find the detailed documentation of all available filters: https://twig.symfony.com/doc/filters/index.html
The definition of one filter must be placed in one line of the textarea. You may not spread your filter definition over multiple lines.
Note
One filter per line!
Examples
date
If you want to change the output format of the post’s date, you can use the date filter:
[post_date]|date("m/d/Y")
capitalize
The placeholder gets capitalized. The first character will be uppercase, all others lowercase.
[post_title]|capitalize
split
This is an advanced usage. With the split filter you can split a string by a delimiter string. With Twig’s for-loop (https://twig.symfony.com/doc/tags/for.html) we can loop through the list items, manipultate them and join them together to a new list.
{% for key in [post_categories]|split(',') %}#{{ key|trim|replace({' ': ''}) }} {% endfor %}
This example will change the content of the placeholder [post_categories]
from
Action, Drama, Horror, B Movie
to
#Action #Drama #Horror, #BMovie
With this filter you can for example automatically push your new post to a Social Media service like Buffer.
Advanced
Activate Mandrill
Activates support for Mandrill API. Mandrill is an email infrastructure service by the creators of MailChimp. If activated, all emails generated by PSN will be passed to your Mandrill account.
Mandrill API key
Your Mandrill API key. Must be set additionally to “Activate Mandrill” in order to use the Mandrill API.
Mandrill log
Activate to receive log entries whenever emails got passed to Mandrill or error messages from the Mandrill API.